Tastings – How to do them properly
After my blogging colleague offered you more tasting notes on exotic and premium spirits, than one could ever drink, you may want to get in charge yourself on this topic. Drinking spirits offers a wide range of tastes, especially the barrel aged alcohols are influenced by different factors. Moreover, there is Rum, Whisky, Tequila and those larger categories can be divided even further. A seemingly overwhelming subject – So, what’s the difference between Rye and Bourbon? Which tastes do I like? How can we deal with this?
A tasting, the conscious savoring of different spirits under the same conditions can help us to categorize. There are certain premisses for each tasting and the samples are in immediate competition. Whiskytastings consist of different categories, which can be divided into “Flights”. A “Flight” is a subcategory of the tasting in which similar brands or varieties compete against each other. Depending on the host of the (blind-) tasting, it is possible that you will find a bad egg (spirits of another category) or the same sample twice – just to see whether the participants actually go by the taste when trying out the products.
Generally there are two distinct types of tastings:
-
Open tasting: Each sample is labeled and thus the participants always know what it is they are trying.
-
Blind tasting: The samples are serially numbered and might include information such as alcoholic strength or age, again depending on the host. Blind tastings are often more informative since you have no bias going into it such as “Jim Beam sucks”.
What you want to get from the tasting?
The advantage of a tasting is the possibility to have a direct comparison between each of the samples, both during the tasting itself and while doing the evaluation. There are 2 main reasons for taking part in a tasting:
- Orientation: You are inexperienced in the world of Whisky and want to get an overview of the field. Since taste is always subjective, reading that Bourbon is characterized by the taste of wood or that Rye has a spicy character because of – you guessed it – the rye, won’t really help you. On a long evening a friend of mine tried to introduce me to Rye using the imperative “Taste the rye!”. The next day, while the hangover started to fade, I had a very general idea of what Rye actually was. But only the immediate and conscious contrasting of Rye and Bourbon during a tasting allowed me to reliably differentiate the two spirits. A tasting with multiple Flights from different varieties is very helpful here.
- Differentiation: Whisky (in his different forms) is no stranger to you anymore but you are now looking to find the perfect Bourbon for your house bar. Bourbon can be categorized into different aging and distillery styles, so we go back to the first reason. Most importantly, the starting point and thus the aim of the tasting has changed since you already have a general idea of Bourbon and are now looking for just the right one for your own taste.
Preparation
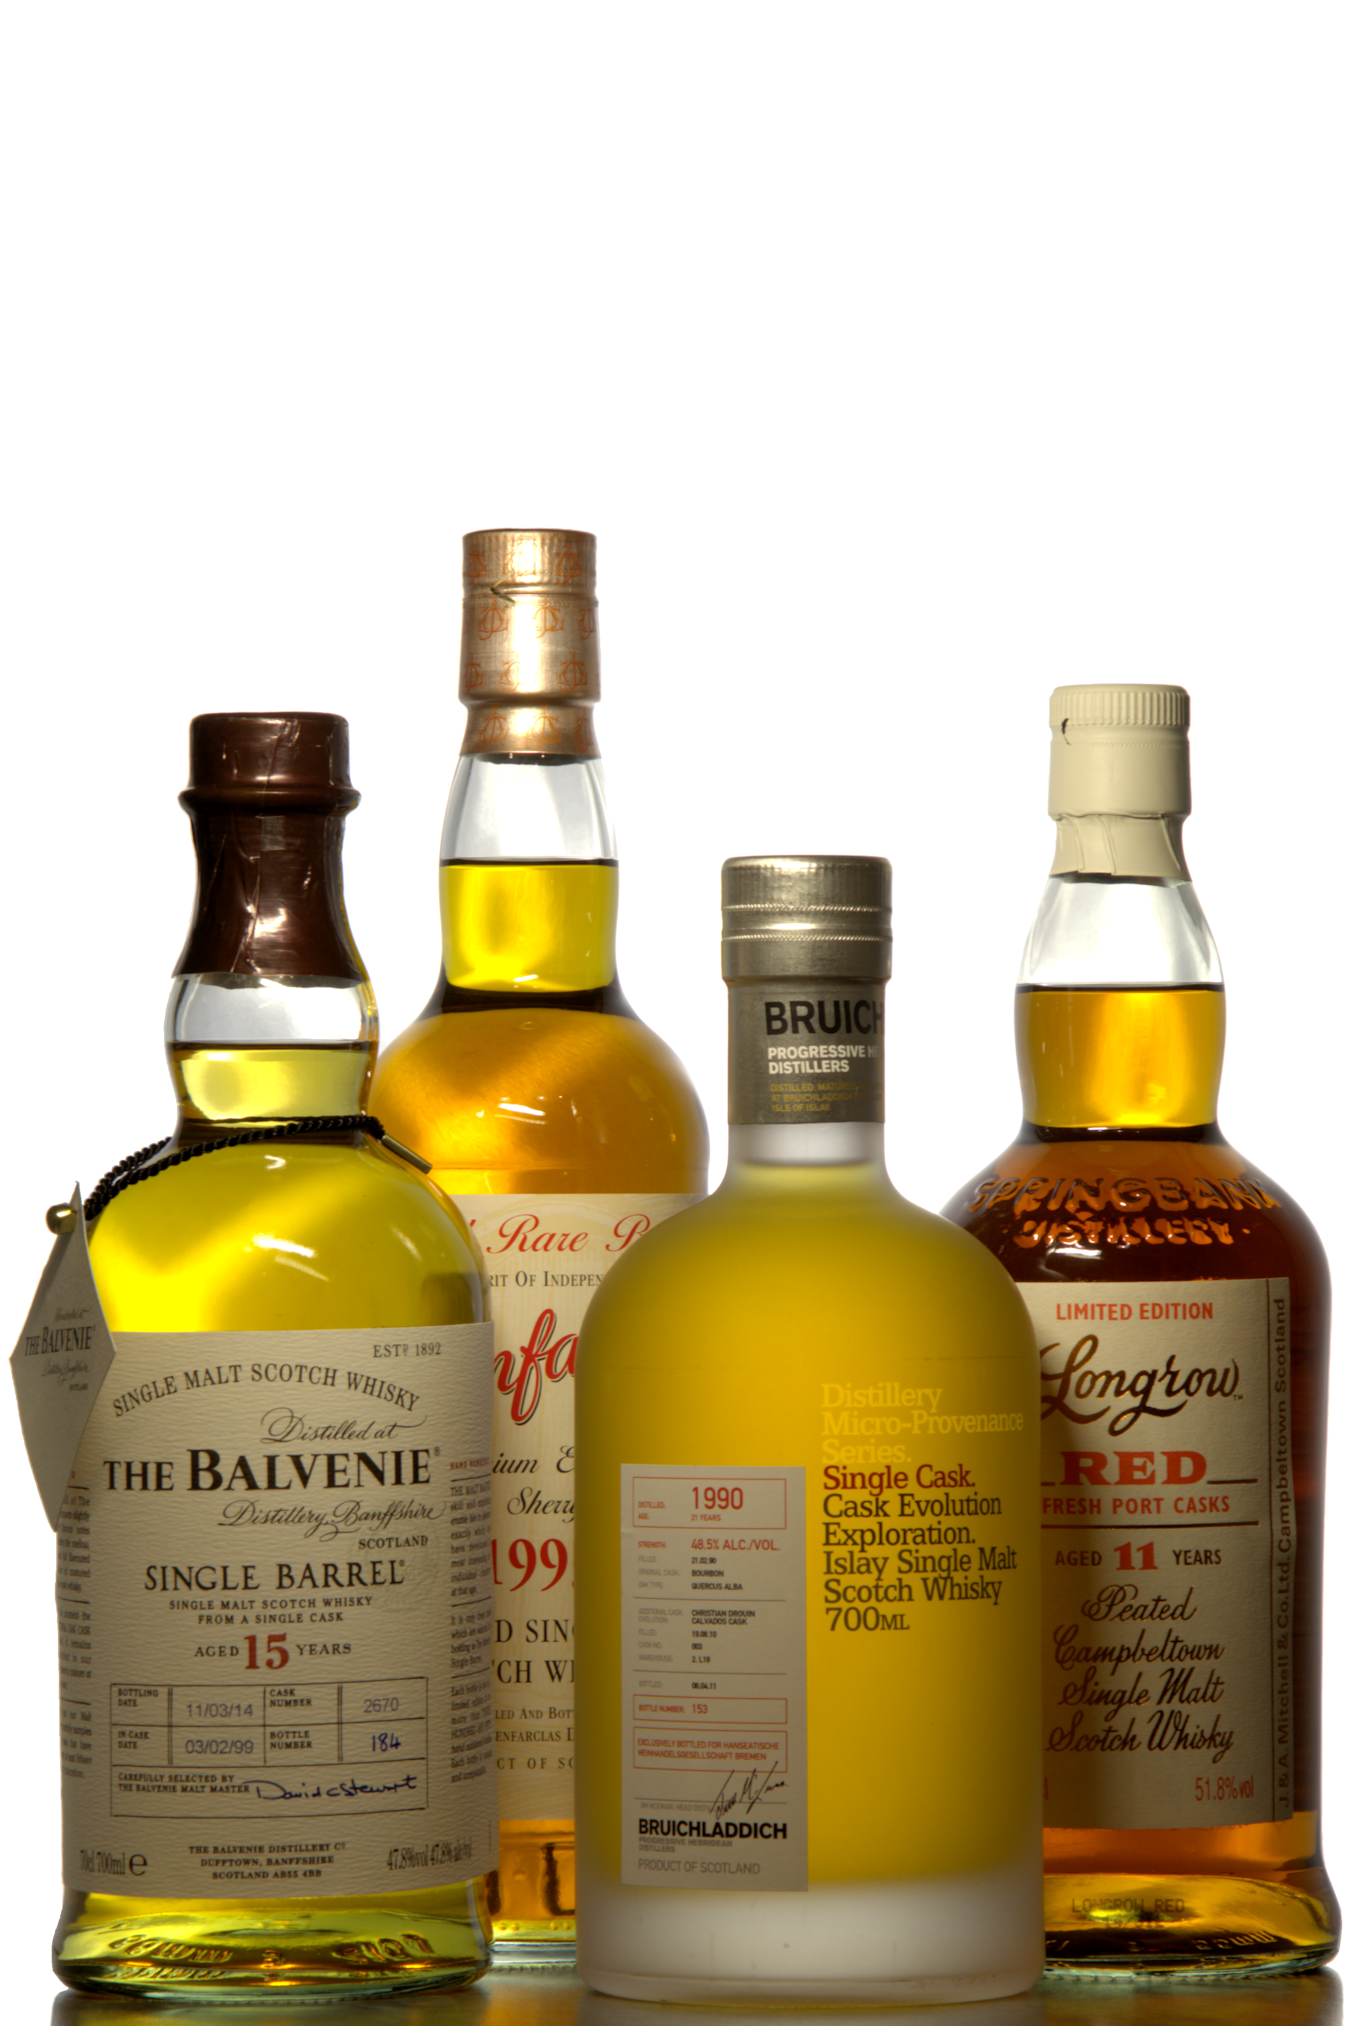
The time has finally come and all the bottles are here, what do I do now? For a successful tasting you need the following equipment: At least one Nosingglass, I advise against Brandy-/Eau de Vie or Grappa glasses because Nosing-glasses are more suitable for moisting every corner of the glass. Furthermore think about the investment of 4-6 Nosingglasses, because with just one, you can’t compare the samples directly. I still prefer to use just 2 glasses, so that I have to focus on getting a very strong mental image of each sample and I am forced to write comprehensible notes.
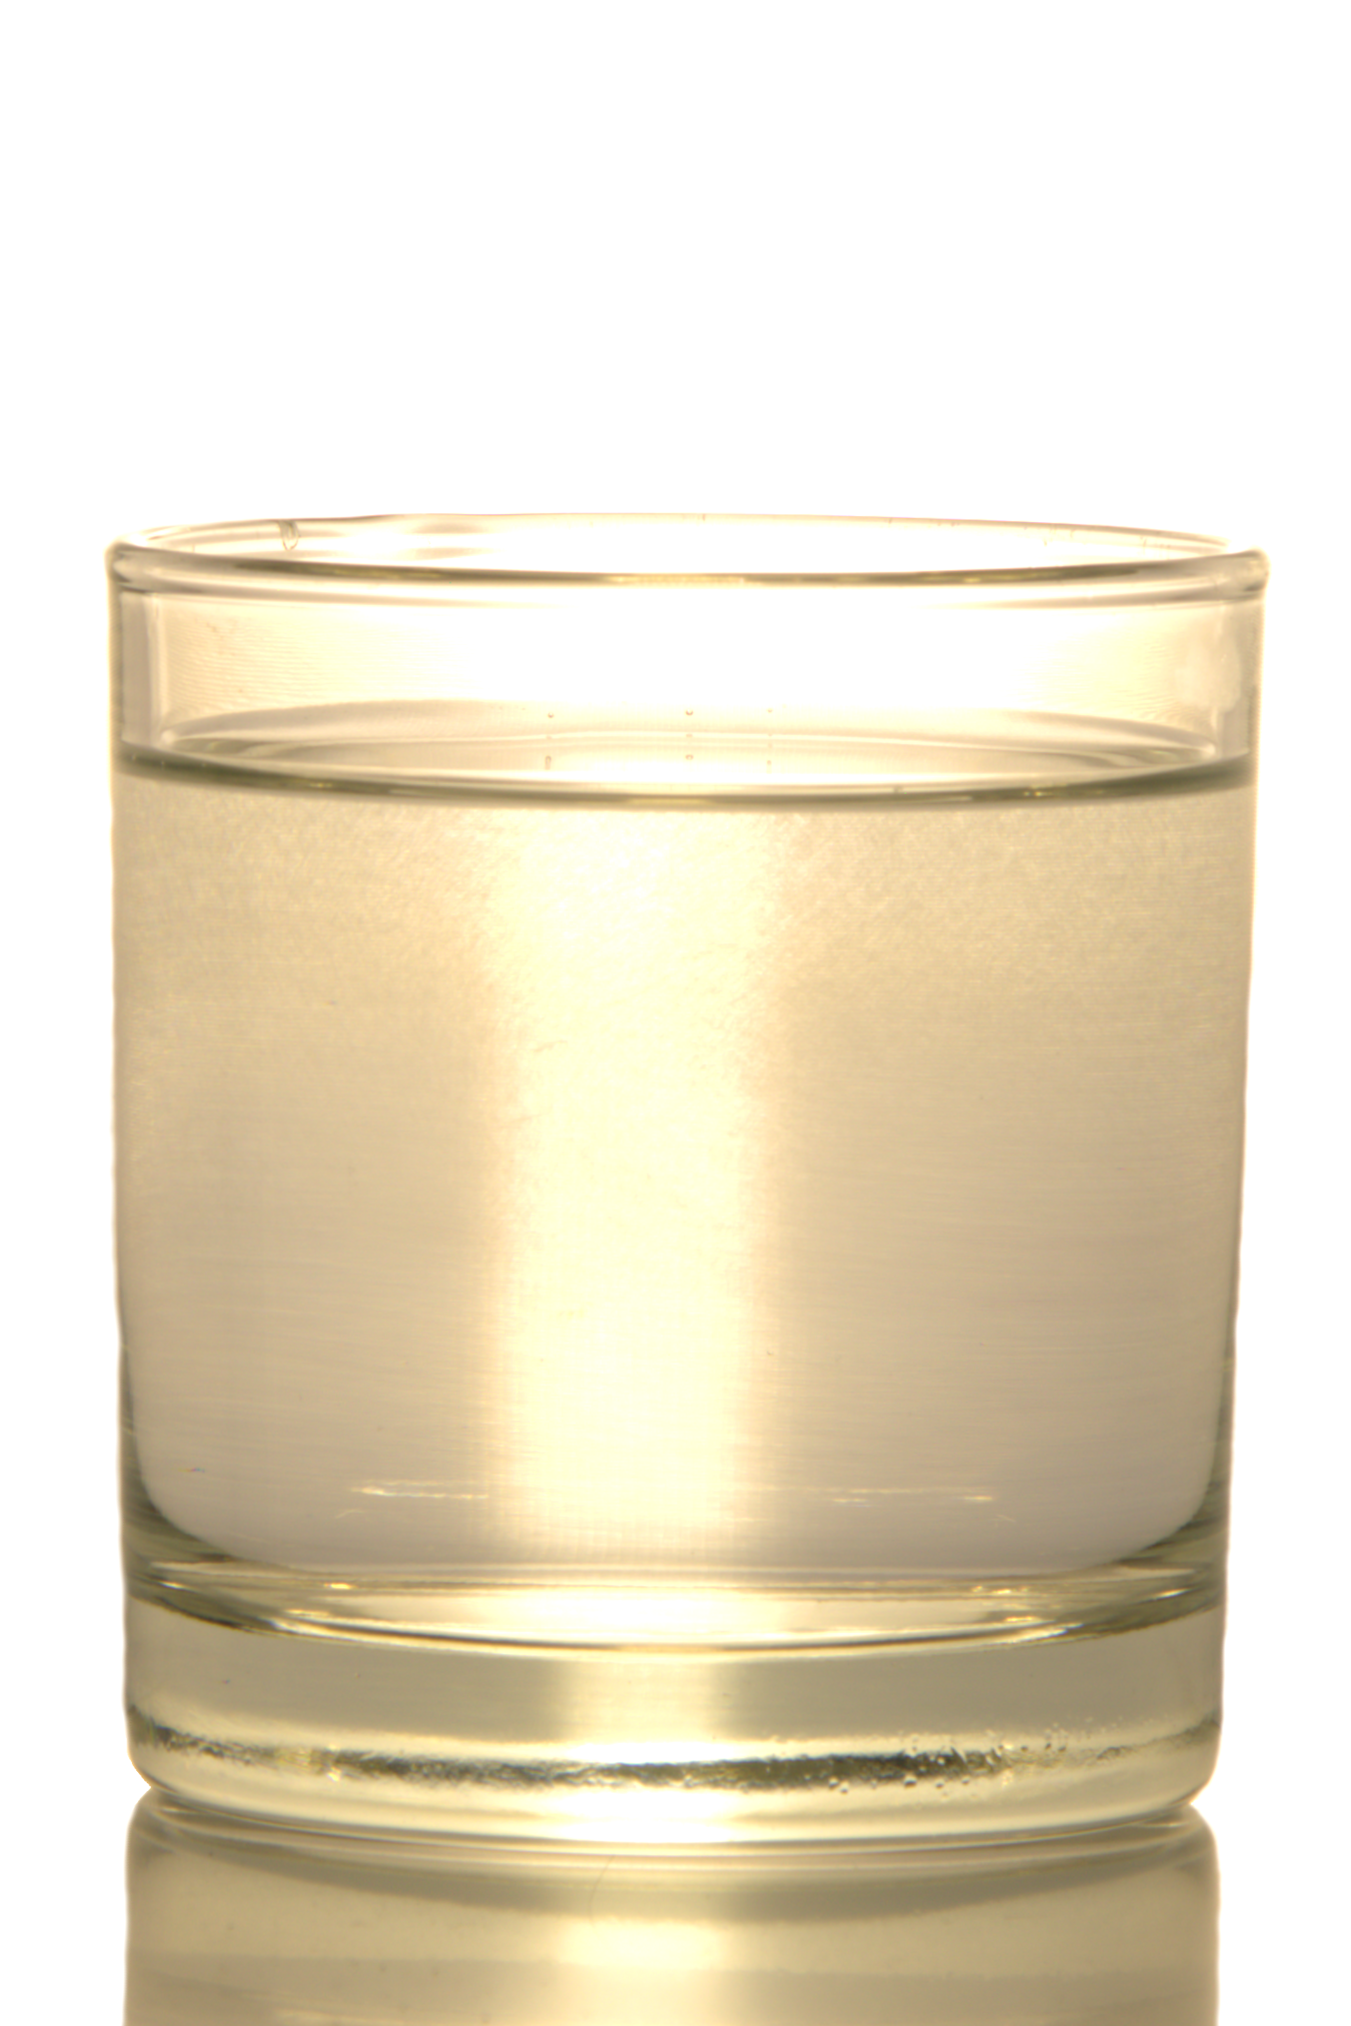
A glass of water with a full bottle of water next to it.
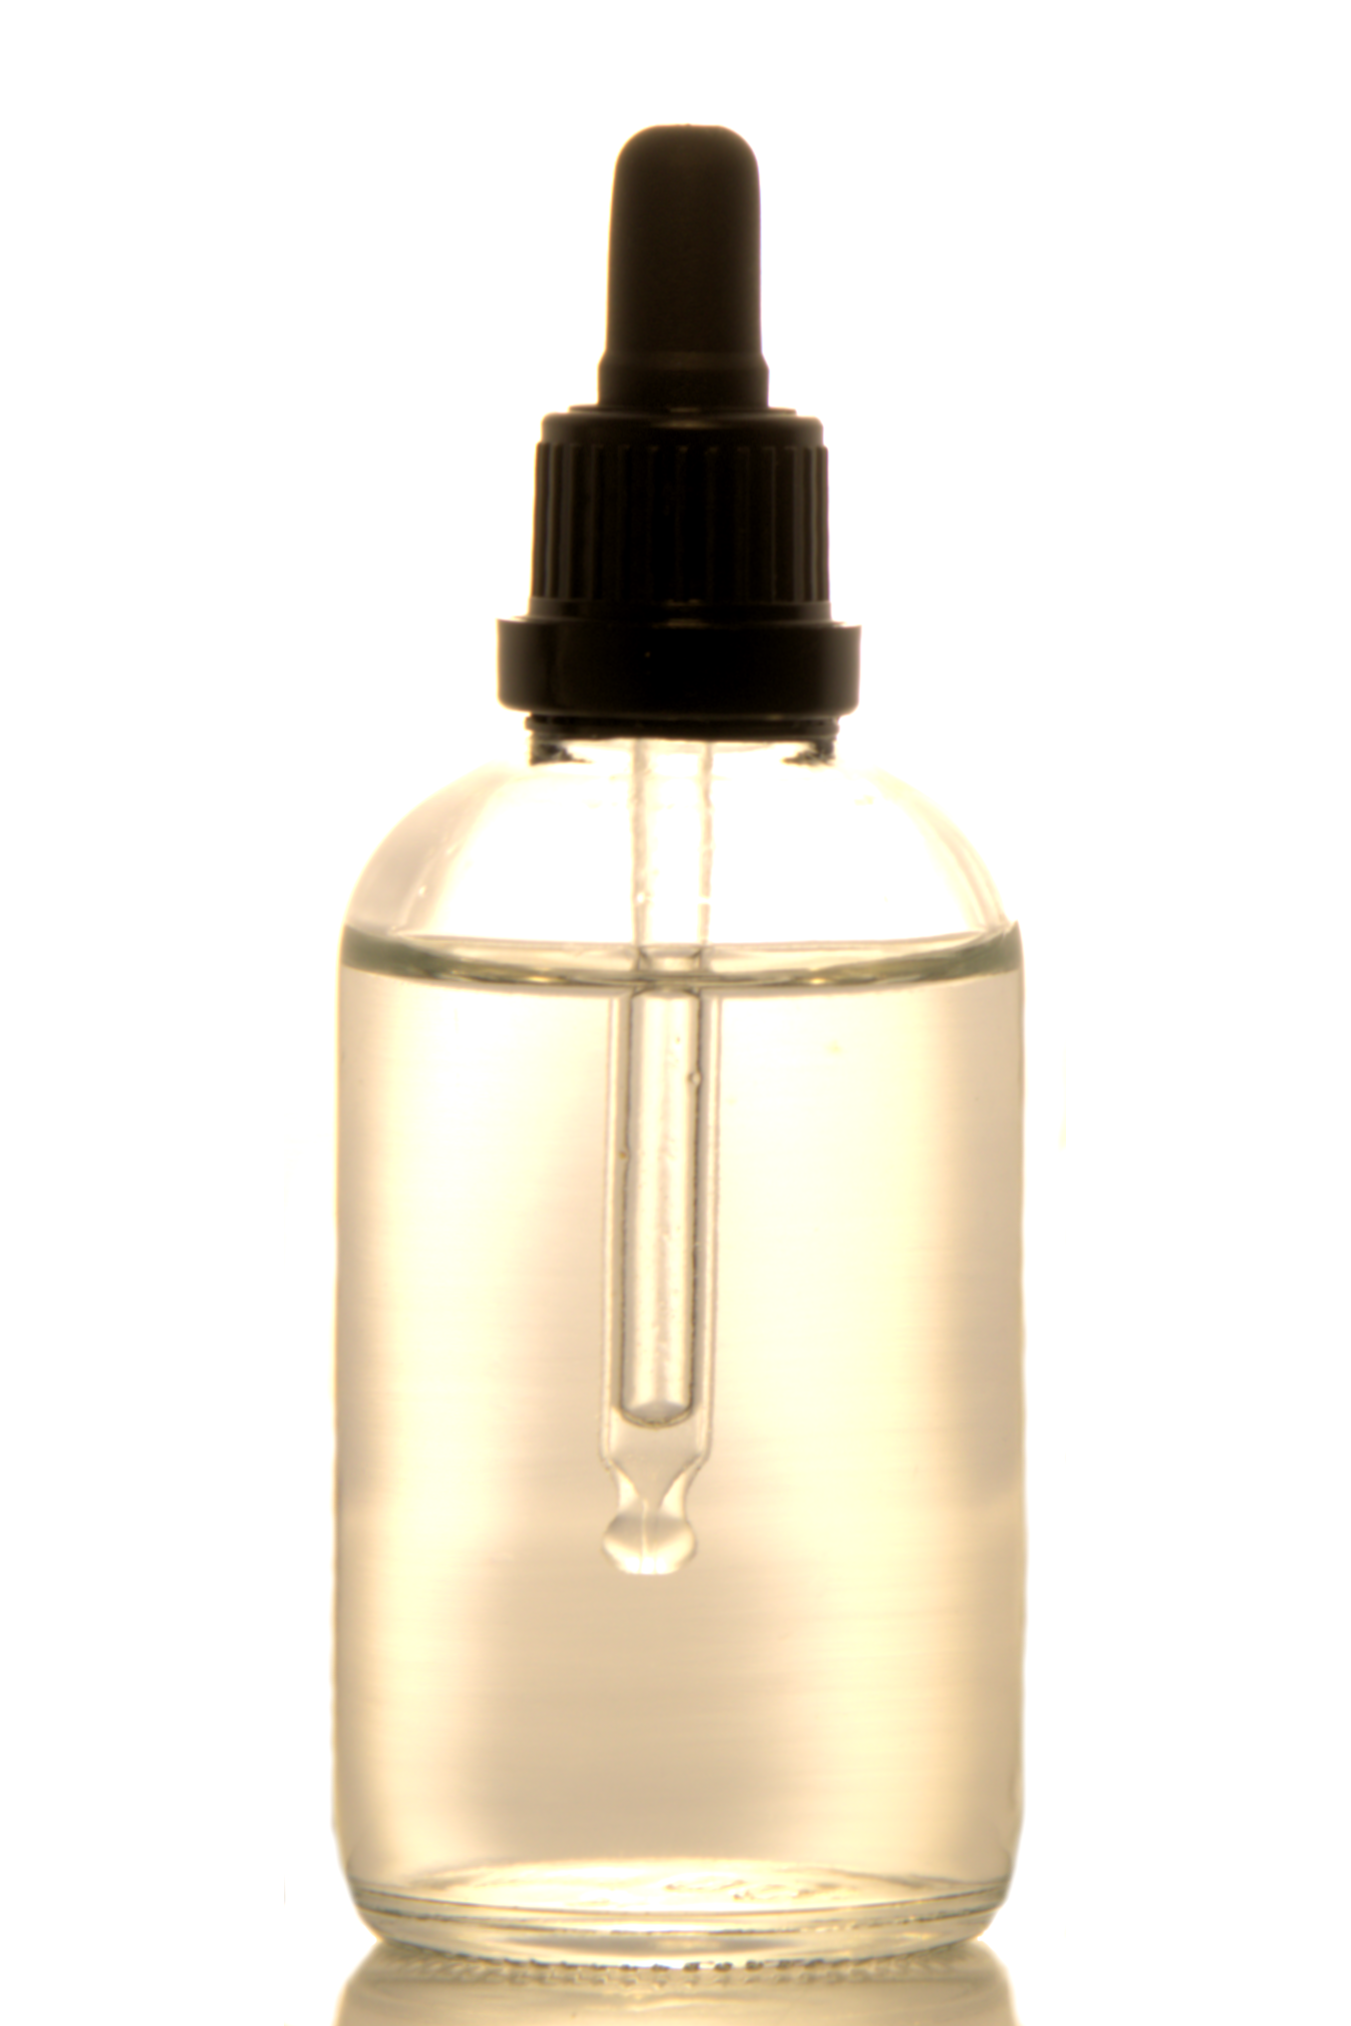
A pipet/syringe/jigger.
A notepad and a pen.
A spittoon is optional.
Do I need bread for neutralization purposes? Generally you should not eat or drink anything other than water in between the different samples because even bread leaves little pieces in your mouth which can influence your taste. But you don’t have to be too strict on yourself with this – think about the entertaining side of a tasting! Now what else is there to keep in mind? The environment around you is also important when it comes to tasting or smelling. As such, try to make the room as sterile as possible without going over the top, still you should pay attention to it. Meals that leave a strong taste in your mouth, examples would be chilli, garlic or mints, are also not advised and neither is using a strong perfume.
The tasting can begin!
Now straight to buisness and to the reason you started reading in the first place: How to get valuable information from this amber colored liquid?
Since Whisky is strong and tends to burn your mouth, it is always a good idea to drink a very small portion of some random Whisky you have around the house. Otherwise it’s easy to misjudge the first real sample, because your taste buds are not used to the alcoholic burn in general and in particular not to Whisky. To do this preparation correctly take a healthy sip and let it flow through your entire mouth – basically just like you would do the actual tasting afterwards. Now wash off the nosing glass. I like to pour some water into the glass, swirl it around a little and drink it afterwards. This also helps to make sure there is nothing left over from the previous sample. If the water still tastes like Whiskey just repeat this process. This way you are also working against the inevitable water loss which often comes with drinking lots of alcohol, which I won’t recommend for a serious tasting.
The color
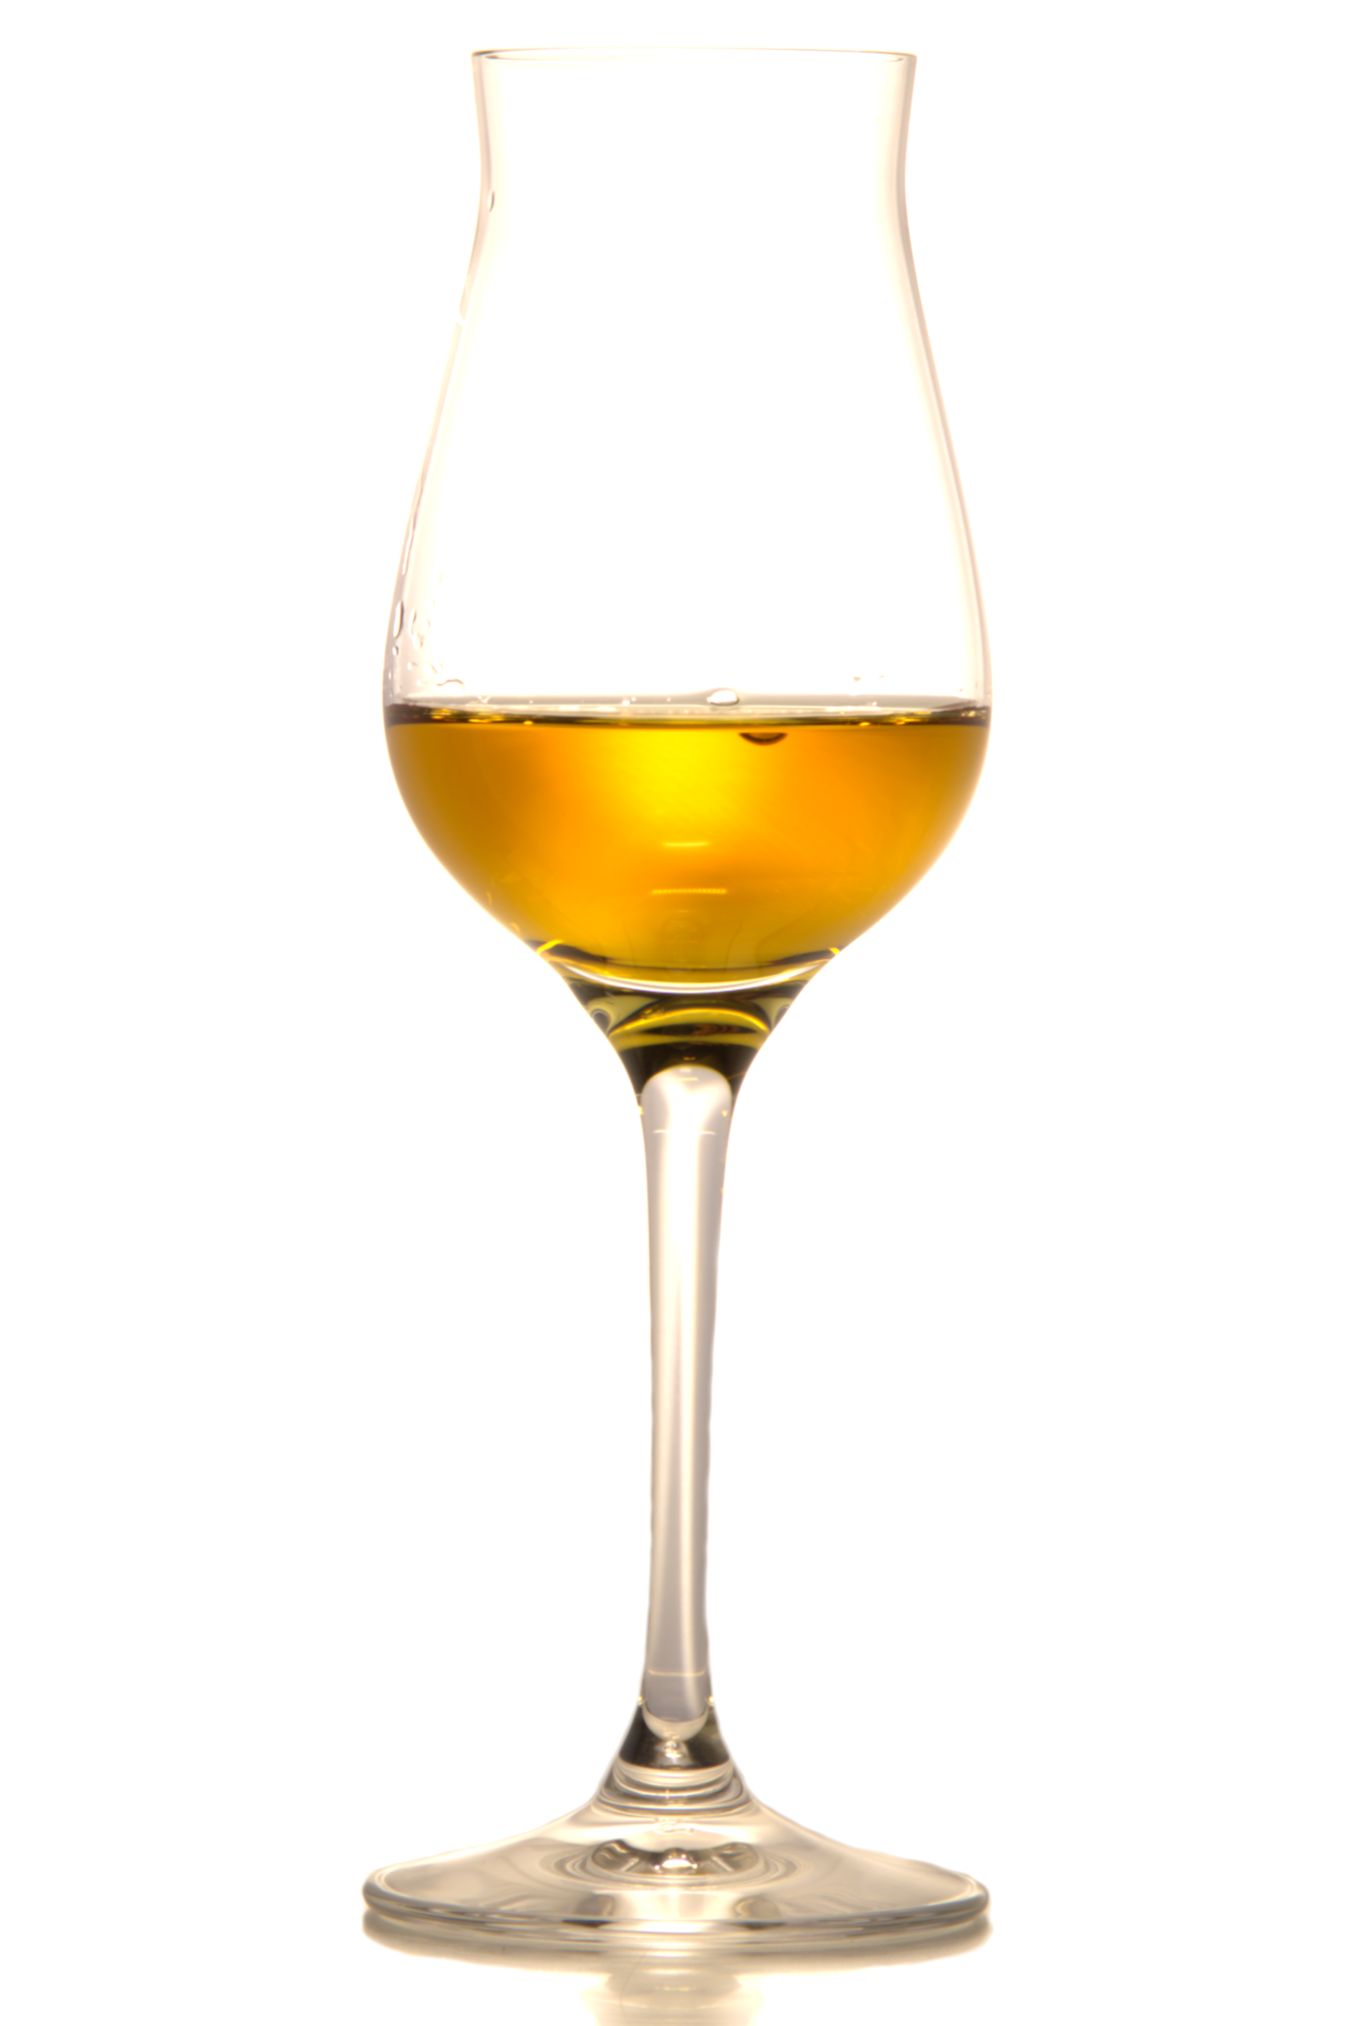
Now you pour the first sample into your glass, it should be around 3 cl / 1 oz. Now the time has finally come for your first assessment, it’s all about the color for now. Hold the glass in front of a white background (a piece of paper for example) and simply use your eyes. Here’s a small color scale for your orientation. Personally I find assessing the color quite tricky since many labels like to artificially color their products to make it look darker, which is often associated with an older Whiskey.
Warming and dispersing
Hold the glass in an inclined position on top of your index finger and use your other hand to slowly turn the glass around in order to cover the entire glass with a small layer of Whisky. Please note that this is not possible with every type of glass if you want to avoid any mishaps. It also takes some practice to do so be careful the first few times. This also makes you look somewhat professional unlike the snobs who like to shake their glasses around without having any actual clue. Now enclose the glass with your palm and warm the Whisky up until it reaches the temperature of your hands. If you have cold hands, your legs work just as good here. Cover the mouth of your glass with your other hand and wait until the Whiskey condenses on each side of it.
Nose and flavors
We have now reached operating temperatures and a lot of the more elusive flavors are diffused by now. Take your palm off the glass and slowly move it to your left and then to your right nostril. If you’re feeling extra rebellious you can also start with the right one! and take a normal breath. No need to plunge your nose into the glass since the smell should be strong enough to give you a good feel for it. Takes notes on what you smell. It’s important to pay attention to your vocabulary here! There are a lot of different technical terms to describe flavors but none of them are universally applicable.
This is true especially for Champagne where you might find expressions such as “elegance”, which you can only smile at, being an outsider. Here’s an example for Bourbon flavors. Work your way from the middle to the outskirts of the graphic. An example: If you feel like wood fits then pay closer attention to it. Let’s say you smell the oak and some smoky flavor. This would be a smoky oak Barrel then.
If you’re overwhelmed by this, don’t despair. Being able to distinguish the taste of oak or to differentiate it from pine is not the goal here. You should take this graph only as a hint and the terms as possible suggestions. If there’s such a graphic coming along with the samples you can and should use it, but don’t hesitate to use your own vocabulary and take notes aside from that chart. If you want to have a good assessment among all the participants try to come up with a set of vocabulary and try to stick to it. This makes for a better comparison but is by no means obligatory.
The taste
At last it is here, the big moment! You may finally lift the glass to your lips and take your first sip. Don’t be shy here, it should be a nice gulp to make sure you get the full taste. Oh and don’t mind your manners too much as slurping is a very good way to get the liquor in your mouth while also taking in the bouquet. This point is debatable and you can just slowly pour the drink into our mouth but I have made some good experiences with the slurping albeit it seeming a little unorthodox at first.
No matter how you get it into your mouth, as soon as it’s in you should spread it around your entire oral cavity. If the people around you tell you that it looks almost as if you were chewing, you’re doing it right. Now tilt your head a little to the front as if looking on the floor and form a kiss with your lips then breathe in to get some air flowing through the distillate. Careful it’s easy to choke on your sample here! Repeat this process until you feel like you have a solid idea of the taste.
Reverberation
It’s now up to you to decide: spit or swallow? It’s obviously more fun to drink the alcohol you have already tasted but if you plan on going through a lot of samples in one go, make sure you’re not entirely drunk as you reach the last samples. If you are doing a tasting at home and you have multiple days to do it, I would advise not to do all samples in one session. Make sure that you don’t take too much time in between though or your results will be less reliable. Even if you spit out, you can still taste the (weaker) reverberation, this is now the last criterion of your tasting. After you have either swallowed or spit out, take a deep breath in and out and freeze for a moment. Is this warm feeling in your throat long lasting? Have you discovered any flavors while breathing out? How long did these flavors last? Personally I like to close my mouth here and exhale through the nose.
The next sip
After you have taken your first sip take some time and let the taste feel your mouth for some more time as some, especially the old products can take two to three minutes until their taste is fully developed. You can also drink a bit of water in between the different samples and sips. Another possibility is to use a syringe, pipet or any other similar measurement instrument to put a few drops of water into the distillate to dilute it a bit. This method is especially viable when your samples have a high concentration of alcohol. Keep in mind that you are drinking it at around 25°C and drinking a liquor with let’s say 60% alcohol is nothing to laugh at.
Your Judgment
Combining color, nose, taste and reverberation now makes it possible to draw an overall conclusion which can be summarized using a grading system of any kind. Just make sure that the entire group uses the same rating system to, once again, make sure the results are comparable. It is recommended, that you note down a preliminary grade for each sample but still keep some of it in order to be able to go back to it at some later point when you have tried out more samples and can make better comparisons. Try to come up with a final grade around the end of the tasting. It is, of course, possible to have a grade for each subcategory which you can value to different degrees, i.e. taste is more important than the color. Again remember to coordinate with all other participants. Whether you want to give each subcategory a grade or just decide from the top of your head, you will come to one conclusion and since it will always be subjective the way to get to it is just as universal. In the end it’s all about your first impressions and how you like the overall picture.
Over the course of the tasting a lot more specific questions such as “Did the product meet my expectations?” can arise and those might influence your overall assessment as well. Depending on the aim of the tasting one can either give each individual participant the choice of taking their own criteria or one can establish the different criteria before the tasting.
All in all, curiosity and patience always pay off when it comes to tasting. Reading the notes of the other participants can also be intriguing but be sure that you come up with your own thoughts and grades first as to not get influenced as much by your colleague’s opinion.
I hope that you have made up your mind about tastings to spark your new desire to make the world of aroma your own. It’s such an exciting hobby to extract and decipher each trace of taste that occurs in a drink and shows you vividly how much passion and knowledge a good distillate needs. Maybe that will help you expand your palate so that you can get a real picture of a product just by reading the tasting notes of Matthew for example.
Now take a glass and try it! Cheers.


